Defect Detection
Table of Contents
1. Project Requirements.
2. In-hole Detection.
- Hardware Installation Diagram – Endoscope
- Hardware Configuration Table – Endoscope
- Hardware Installation Diagram – Camera Tilt
- Hardware Configuration Sheet – Camera Tilt
- Intrabore Scratches – Endoscopy
- Scratch inside hole – camera tilted
- hole fixture mark – endoscope
- hole fixture stamp – camera tilt
3. Glass Defect, Small a Defect Detection.
- Hardware installation diagram – small A pressure injury
- Hardware Installation Diagram – Glass Gap, Small A Grinding, Small A Dirty
- Hardware configuration table
- Small A grinding flower
- Small A crush
- Small A is dirty
4. Program Summary.
Project requirements
Project function:
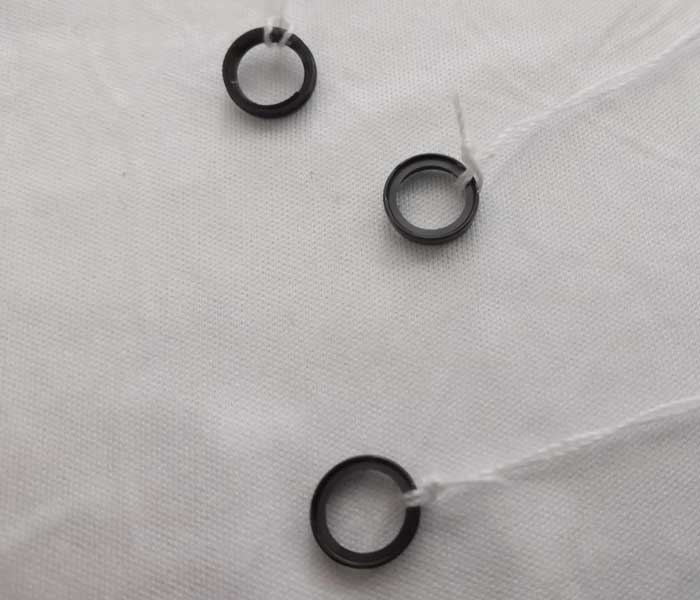
Detect scratches, nicks, fixture marks, grinding, crushing, dirt and other defects on coated parts.
Project requirements:
There are no specific technical requirements.
In-hole Detection
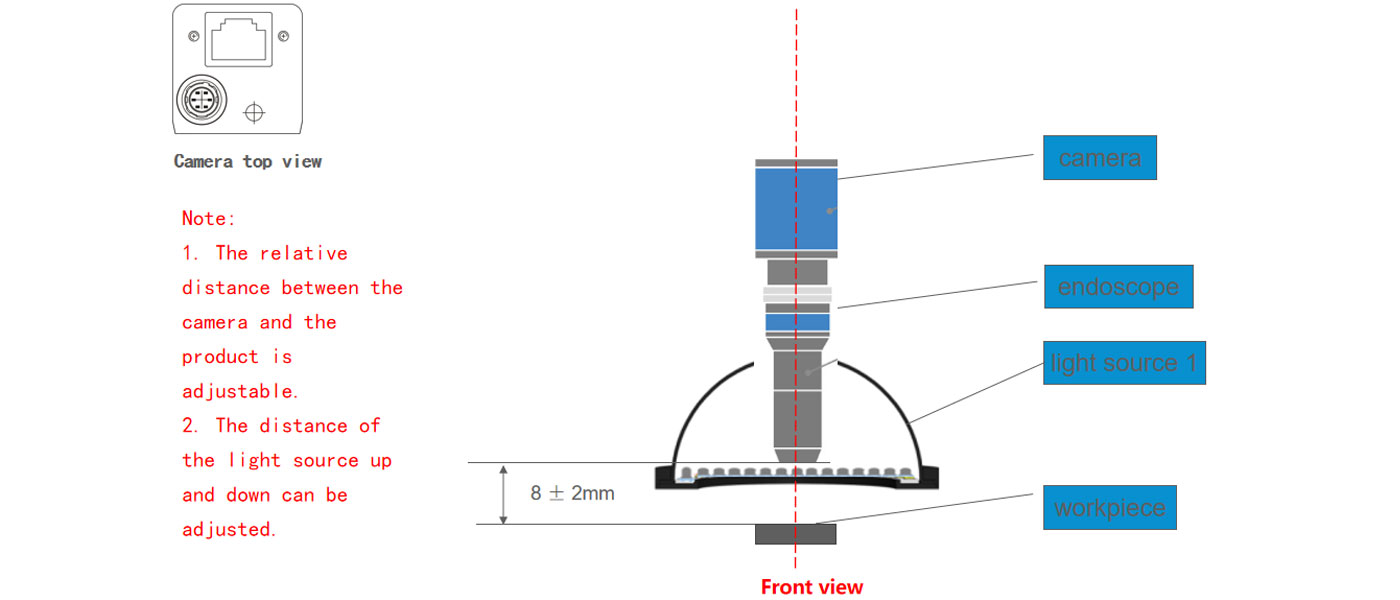
Hardware Installation Diagram – Endoscope
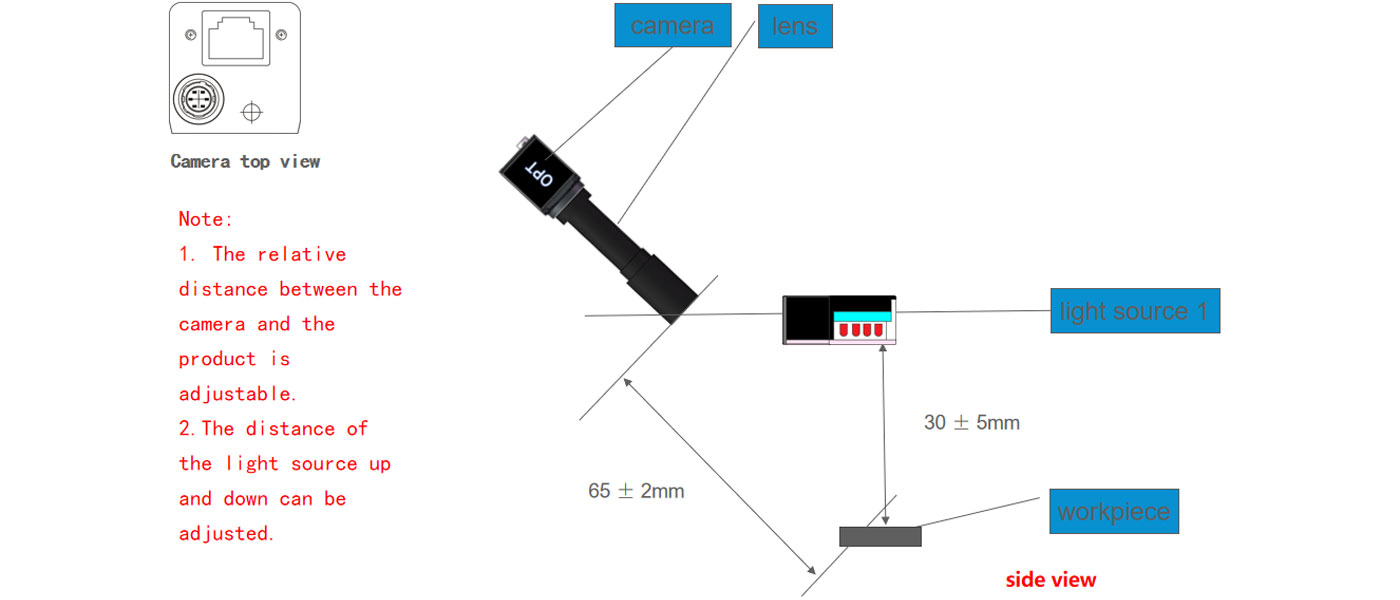
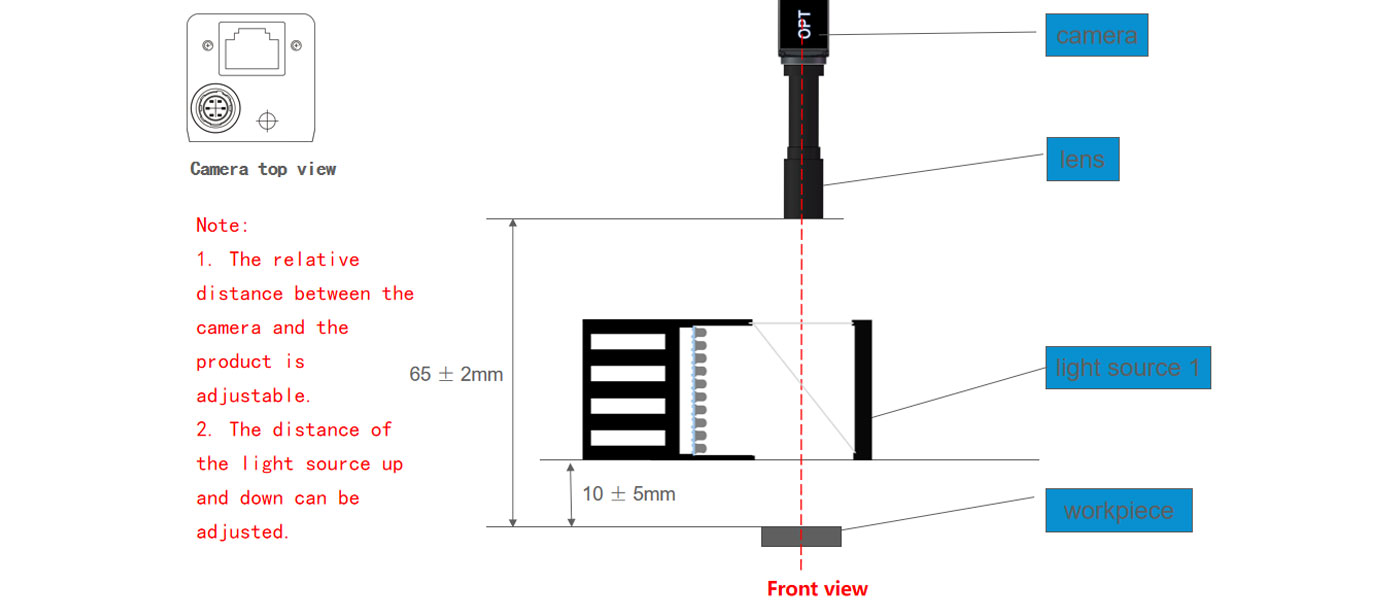
Hardware Installation Diagram – Camera Tilt
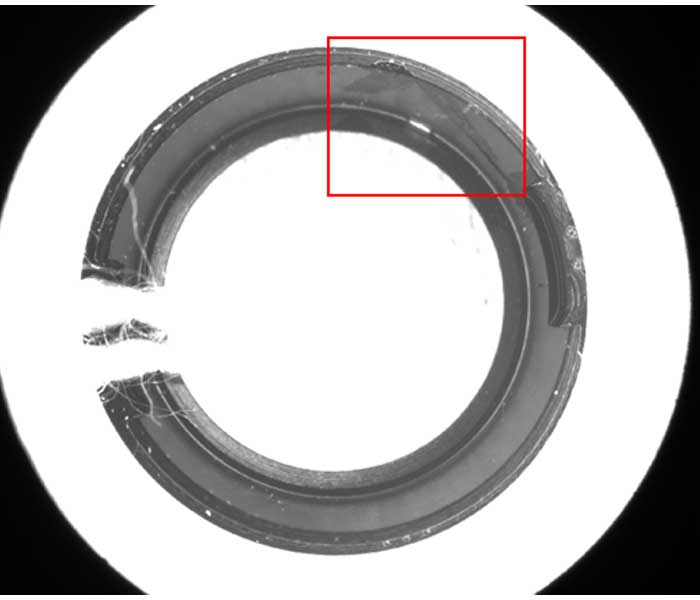
Scratch Inside Hole – Endoscope
Use 500w camera, endoscope lens, spherical integral light source; due to the inner wall of the collection hole, there is no accurate field of view and precision. The camera takes a picture once.
The feature is a gray feature, and the surrounding area is a gray area; the gray value of the feature and the surrounding area is very close, and the image processing cannot effectively obtain the obvious feature, and it is difficult to detect stably.
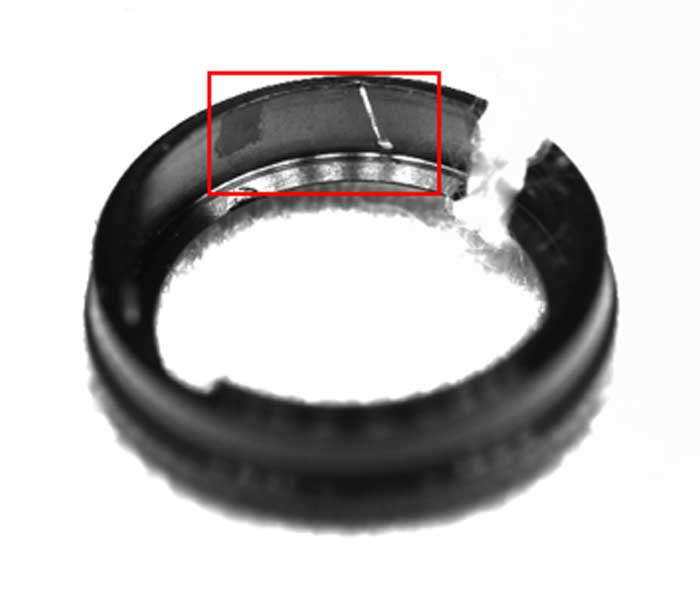
Scratch Inside Hole – Camera Tilted
Using 2000w camera, fixed focus lens, semi-ring light source; the camera field of view is about 26.27mm*17.51m , and the theoretical camera accuracy is about 0.0048mm / pixel . The camera takes pictures multiple times.
When the camera is tilted to collect, obvious white features can be obtained; but according to the image, the scratch features are divided into black and white. When the two appear at the same time, different parameters need to be set to capture them separately.
There is white reflective interference under the scratched area. When detecting white scratches, it is easy to be disturbed and misjudged.
Using a tilt camera to take pictures requires one camera to take pictures multiple times. Each time a part of the inner circle of the hole is taken, the product needs to be rotated. There is also the issue of depth of field.
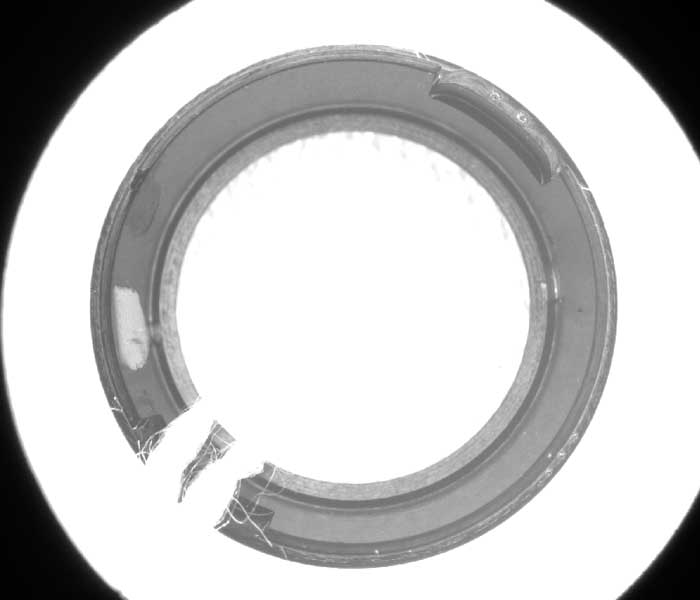
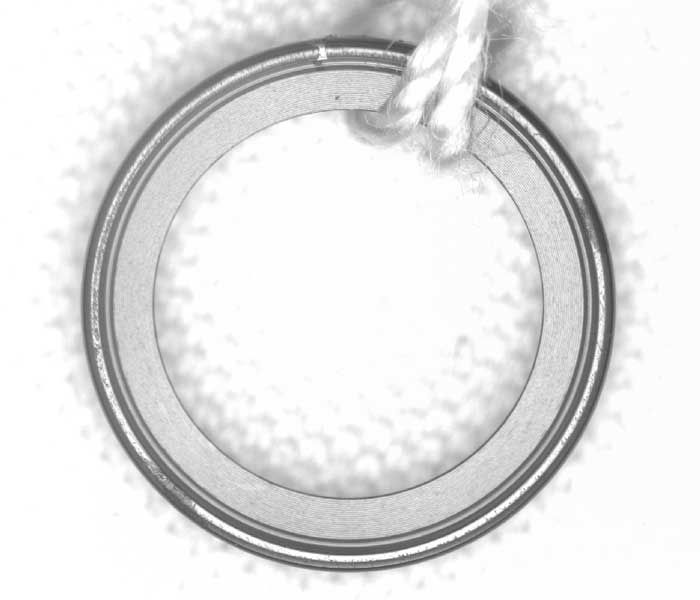
Hole Fixture Mark – Endoscope
Use 500w camera, endoscope lens, spherical integral light source; due to the inner wall of the collection hole, there is no accurate field of view and precision. The camera takes a picture once.
Features are white with gray areas around them.
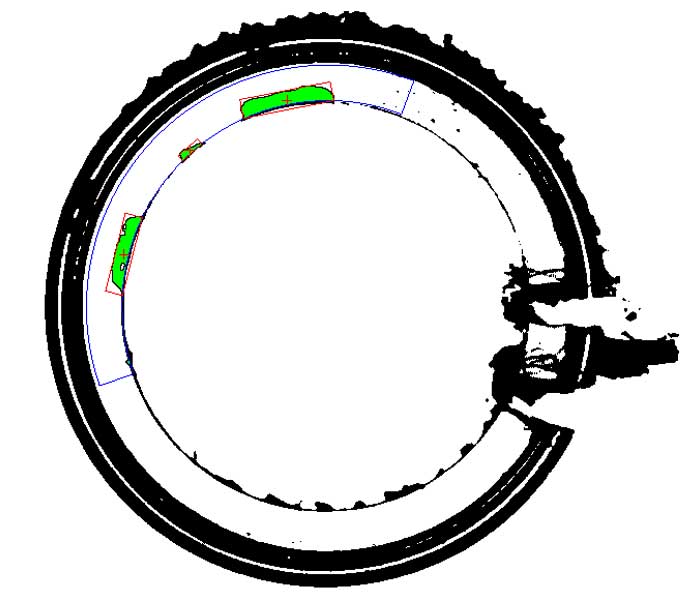
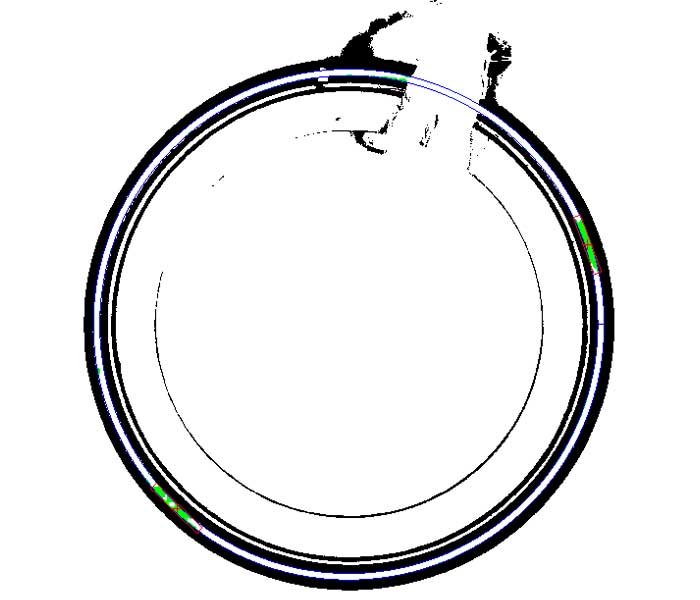
Filter, morphologically, and binarize the product image to obtain a feature highlighting image that is either black or white.
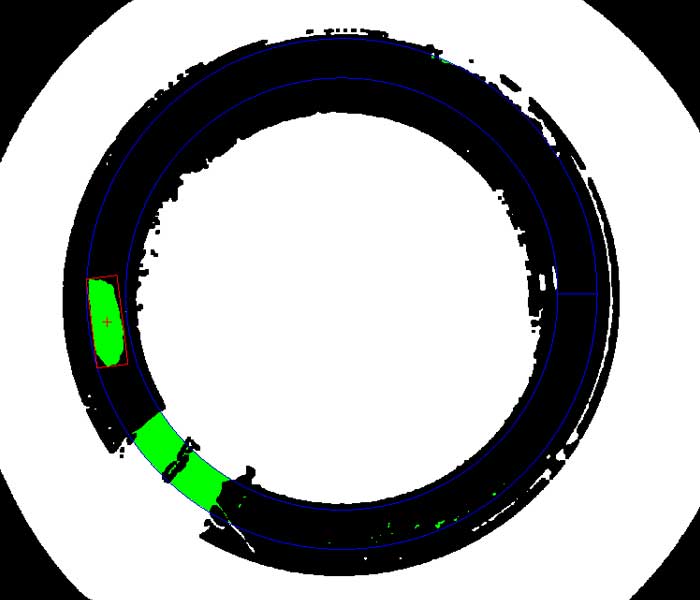
Capture the inner and outer circles, and fit the annular ROI of the detection area according to the radius of the inner and outer circles.
Use the Blob analysis tool, set appropriate parameters, and search for white features in the set annular ROI . When the white features are captured, it is judged that there is a fixture mark in the hole.
Hole Fixture Stamp – Camera Tilt
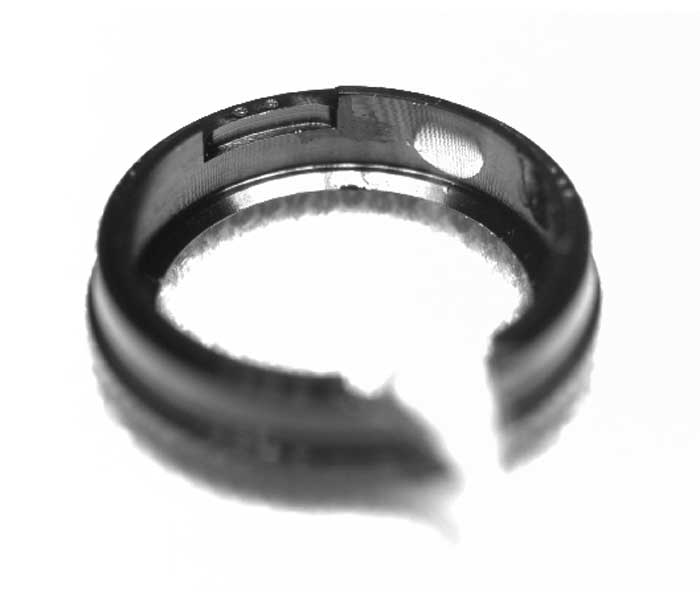
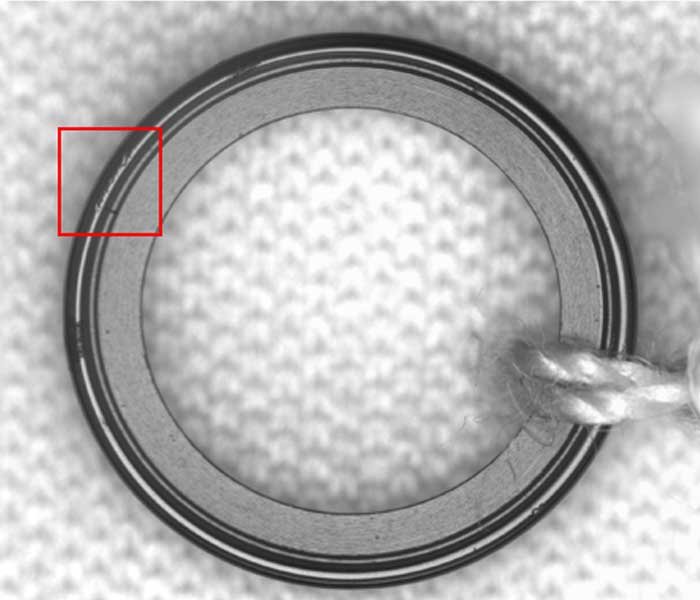
Use 500w camera, endoscope lens, spherical integral light source; due to the inner wall of the collection hole, there is no accurate field of view and precision. The camera takes a picture once.
Features are white with gray areas around them.
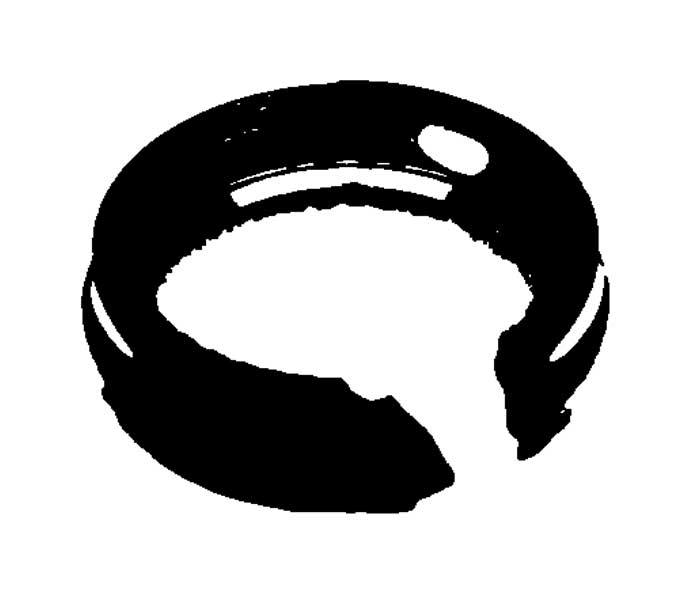
Filter, morphologically, and binarize the product image to obtain a feature highlighting image that is either black or white.
Capture the inner and outer circles, and fit the annular ROI of the detection area according to the radius of the inner and outer circles.
Use the Blob analysis tool, set appropriate parameters, and search for white features in the set annular ROI. When the white features are captured, it is judged that there is a fixture mark in the hole.
There is white reflective interference under the fixture print, and it is easy to be interfered and misjudged when detecting white scratches.
Using a tilt camera to take pictures requires one camera to take pictures multiple times. Each time a part of the inner circle of the hole is taken, the product needs to be rotated. There is also the issue of depth of field.
Glass Defects, Small a Defects
Hardware Installation Diagram – Small a Pressure Injury
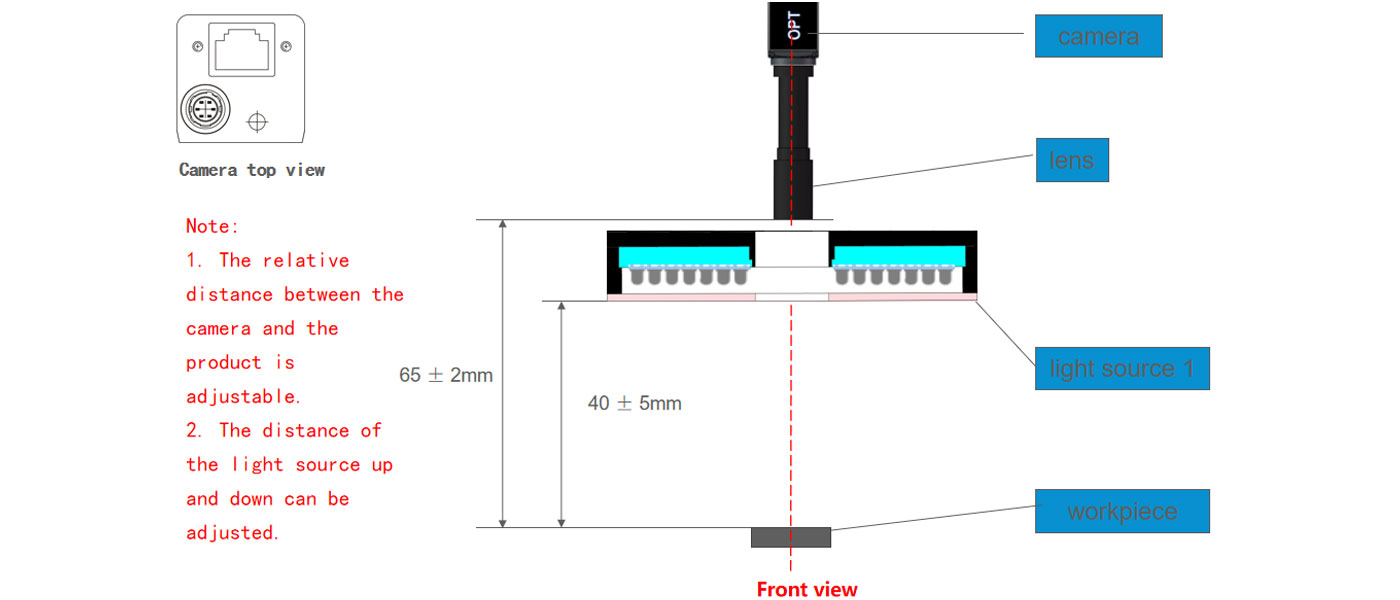
Hardware Installation Diagram – Glass Gap, Small a Grinding, Small a Dirty
Glass Gap
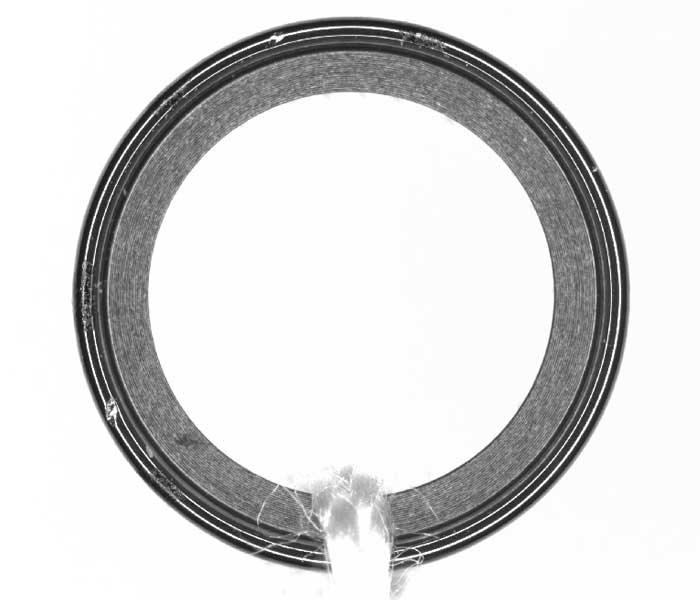
Use 2000w camera, fixed focus lens, coaxial light source; the camera field of view is about 26.27mm*17.51m , and the theoretical camera accuracy is about 0.0048mm / pixel . The camera takes a picture once.
Features are dark gray with light gray areas around them.
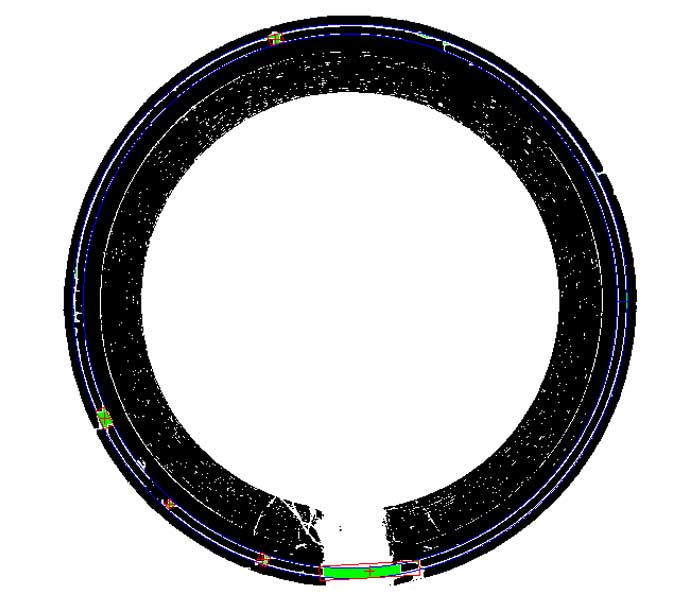
Filter, morphologically, and binarize the product image to obtain a feature highlighting image that is either black or white.
Capture the inner circle, and fit the annular ROI of the detection area according to the radius of the inner circle.
Use the Blob analysis tool, set appropriate parameters, and search for black features in the set annular ROI. When the black features are captured, it is judged that there is a gap in the glass position.
Small a Grinding Flower
Using 2000w camera, fixed focus lens, coaxial light source; the camera field of view is about 26.27mm*17.51mm , and the theoretical camera accuracy is about 0.0048mm / pixel. The camera takes a picture once.
The features are irregular in shape, the features are small and inconspicuous, and the grayscale difference from the surrounding area is small. The required features cannot be effectively extracted by image processing, and it is difficult to stably implement the defect detection. There is a greater risk.
Small A Crush
Using 2000w camera, fixed focus lens, ring light source; the camera field of view is about 26.27mm*17.51mm , and the theoretical camera accuracy is about 0.0048mm / pixel. The camera takes a picture once.
Features are white with black areas around them.
Filter, morphologically, and binarize the product image to obtain an image with obvious features that is either black or white.
Capture the inner circle, and fit the annular ROI of the detection area according to the radius of the inner circle.
Use the Blob analysis tool, set appropriate parameters, and search for white features in the set annular ROI. When the white features are captured, it is judged that there is pressure injury in small A.
Small a is Dirty
Using 2000w camera, fixed focus lens, coaxial light source; the camera field of view is about 26.27mm*17.51mm , and the theoretical camera accuracy is about 0.0048mm / pixel. The camera takes a picture once.
Features are gray, with white areas around them.
Filter, morphologically, and binarize the product image to obtain a feature highlighting image that is either black or white.
Capture the inner circle, and fit the annular ROI of the detection area according to the radius of the inner circle .
Use the Blob analysis tool, set appropriate parameters, and search for black features in the set annular ROI. When the black features are captured, it is judged that the small A is dirty.
Program Summary
There are risks in the implementation of the program. Scratches in the holes and small A grinding patterns cannot stably and effectively realize the detection function. If there are subtle flaws or inconspicuous features in other detection items, there are also detection risks. The current conclusion is the evaluation result, and the actual situation should be based on the on-site situation.
The scheme has the following precautions and related problems.
1. When using an endoscope for in-hole inspection, there are cases where the features are not obvious. Using an oblique camera requires multiple acquisitions and has a depth of field problem.
2. Various tests cannot be distinguished during testing. For example, the detection at small A can be detected as bad, but it cannot be effectively distinguished as to what kind of bad it is. It is similar to easily judging dirt as a pressure injury.
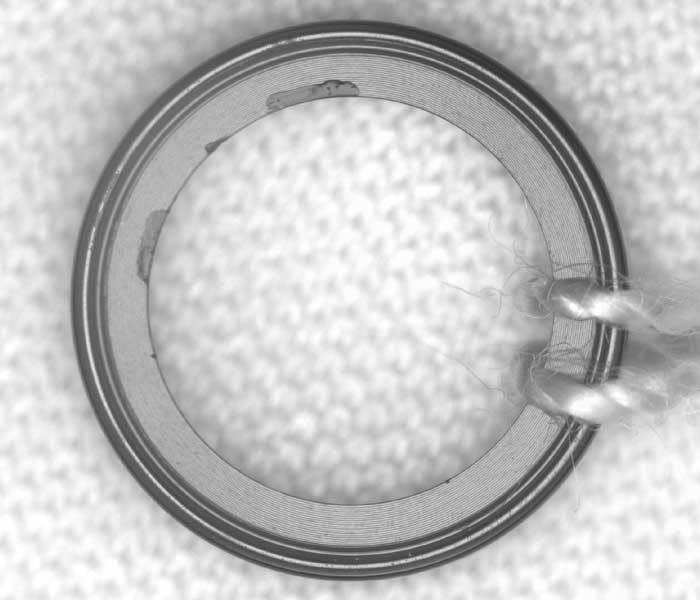
3. The current test experiment is a white clean cloth background, and it is recommended to use a white background on site, which is easy to capture the outline of the product and use it to locate the product.


